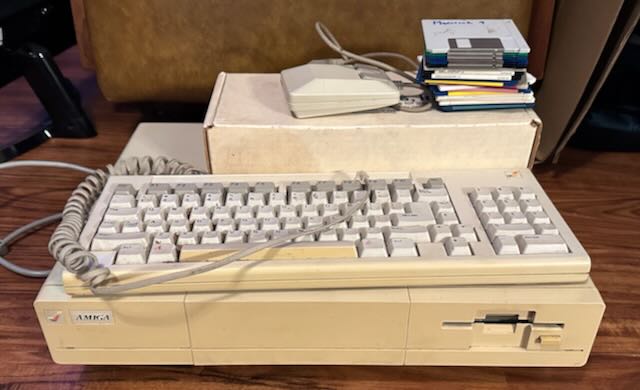
Amiga 1000 Restoration Part 1
Welcome back to another installment of what can I do with my Amiga?
This is my second Amiga I have picked up since getting back into Amiga's after sadly selling my original ones 10+ years ago. I picked this up as a local Craigslist find and was lucky enough to be the one that could go get it. Sadly it has sat at home waiting for me to give her some attention for a year and a half. Well that time has come my friends so hold on for an adventure.
 Does the system work
Knowing if she works or not is an important indicator of how much of an adventure we are in for. Luckily the A1000 does not have an internal battery so at least I don't have to worry about that. She is also old enough to not have surface mount components so that is another thing not to worry about.
After I made the necessary connections and turned her on I was pleasantly surprised she was asking for the Kickstart disk! Here I am in luck too as the previous owner gave me one when I bought it so we are off and running. I inserted the Kickstart disk and a few seconds later I was being asked for the Workbench disk! Oh yea!
Good only Workbench 1.3 lets see what she has! Some whirling of the disk and a little bit more time the good old Workbench is all ready for me. The familiar blue AmigaOS Workbench showing I have 512k of RAM or a little less since the Workbench uses some.
We have a functional Amiga 1000 with a good 256k RAM expansion which is all great news!
Now off to start the restoration and see what/if any mods I want. I never had an Amiga 1000 growing up by a family friend did. I know I always enjoyed when my Dad took me with him as he was visiting his computer buddies.
 What are the goals
Replace the capacitors on both the motherboard, daughterboard and power supply.
Investigate a Pi-Storm for some of the following:
- Kickstart from the Pi-Storm no longer needing the Kickstart disk.
- SCSI disk emulation.
- RTG graphics.
- Wifi Networking
Install a RGB2HDMI as some kind of scan doubler is pretty much a must anymore and I really LOVE the one I have in one A2000.
General cleanup wow she is dirty.
 Motherboard/Daughterboard Recap
This machine is coming up on being 40 years old! Wow! I can't believe this was released in 1985 which was the same year as the great Back to the Future movie! While we don't really have flying cars or hoverboards we do still have the Amiga and a great movie!
Once I was able to remove all the screws and take everything apart I started slowly removing one type of capacitor at a time and replacing with a new one. I do this to not accidentally put a new one back on in the wrong spot.
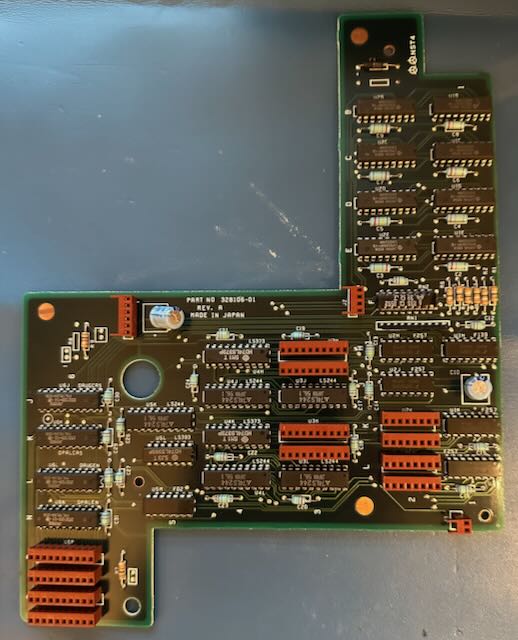
Sadly I didn't take any photos of the boards once I was complete with the re-cap so I am including the before images here.
The daughterboard
The motherboard
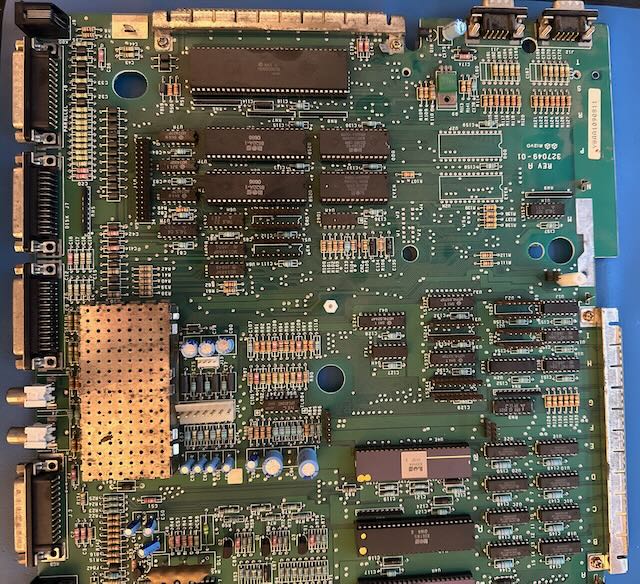
Now with the nice new Panasonic, Nichicon or Rubycon capacitors it was time to check my work. She powered on like a champ!
Powersupply Recap
Well with the success of the motherboard and daughterboard it was time to do the power supply. I had to order some higher temp caps (105C) as its better practice to use those in the power supply as it can get a tad warm.
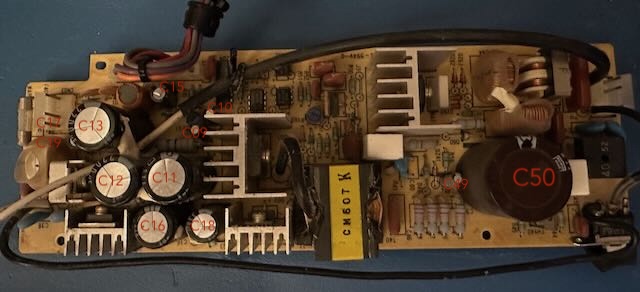
When looking for a capacitor map I easily only found PAL versions online and when looking at mine a couple of the capacitors where different. Sadly I have some knowledge in holes with electronics but suspect it is due to the 110V and 220V differences.
While doing this I decided to make a NTSC A1000 power supply capacitor map and parts. So here it is!
| Location | Value | DigiKey Part # | Manufacturer Part Number | Description |
|---|---|---|---|---|
| C09 | 50v4.7uF | 493-16343-ND | UPV1H4R7MFD | CAP ALUM 4.7UF 20% 50V RADIAL TH |
| C10 | 50v1uF | 1189-50YXM1MEFR5X11-ND | 50YXM1MEFR5X11 | CAP ALUM 1UF 20% 50V RADIAL TH |
| C11 | 16v2200uF | 493-11290-ND | UPX1C222MHD | CAP ALUM 2200UF 20% 16V RADIAL |
| C12 | 16v2200uF | 493-11290-ND | UPX1C222MHD | CAP ALUM 2200UF 20% 16V RADIAL |
| C13 | 16v2200uF | 493-11290-ND | UPX1C222MHD | CAP ALUM 2200UF 20% 16V RADIAL |
| C15 | 25v100uF | 493-16247-1-ND | ULD1E101MED1TD | CAP ALUM 100UF 20% 25V RADIAL TH |
| C16 | 35v470uF | 493-11277-ND | UPX1V471MHD | CAP ALUM 470UF 20% 35V RADIAL TH |
| C17 | 25v100uF | 493-16247-1-ND | ULD1E101MED1TD | CAP ALUM 100UF 20% 25V RADIAL TH |
| C18 | 25v330uF | P13123-ND | EEU-EB1E331 | CAP ALUM 330UF 20% 25V RADIAL TH |
| C19 | 25v100uF | 493-16247-1-ND | ULD1E101MED1TD | CAP ALUM 100UF 20% 25V RADIAL TH |
| C49 | 35v10uF | 1189-3733-1-ND | 35ML10MEFCT54X7 | CAP ALUM 10UF 20% 35V RADIAL TH |
| C50 | 200V470uF | 493-8004-ND | LGR2D471MELB30 | CAP ALUM 470UF 20% 200V SNAP TH |
Note C17 and C19 are to the left of C13 and are hard to see from the photo.
 Floppy Drive
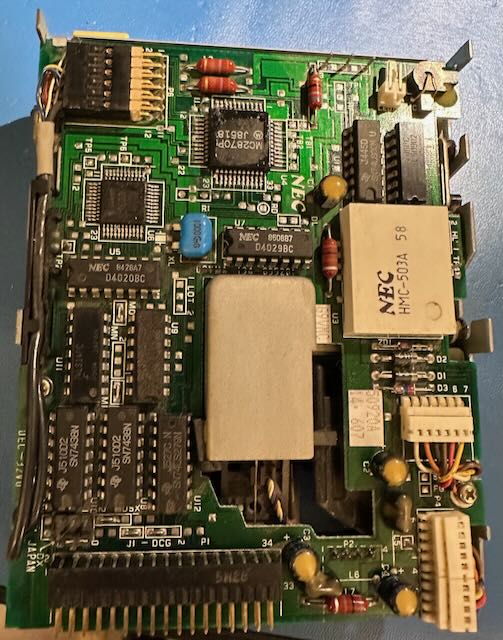
This floppy was a different version than my later Amiga's. This one is a little thicker and has a circuit board on top. There are 2 screws on the top that need removed and disconnect the 2 connectors in the top left. Once this is done you can slide the board forward gently and left up where it will flop over to the right.
Once this is off to the side the floppy mechanism is exposed. Mine didn't have the screw drive shaft and slider slid so I just removed an amazing amount of dust bunnies and put it back together.
Keyboard
Oh the keyboard... Yes the keyboard was VERY dirty and this took quite of time to cleanup. I have no idea what was spilled in it but with it being caramel color and sticky I just assumed it was a coke. I have no idea when that happened but somewhere between 1985 and 2023 either way this sticky mess had to go.
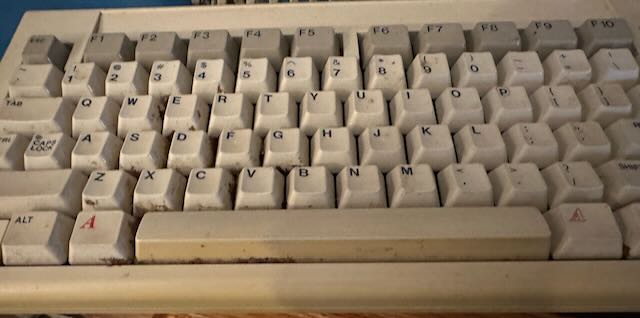
Pay close attention to the area around the S, D and F keys.. Yep I think that is some of the coke here on top. Just wait it gets worse..
All the keycaps needed to come off along with removing some of keys themselves which meant unsoldering each one that was impacted.
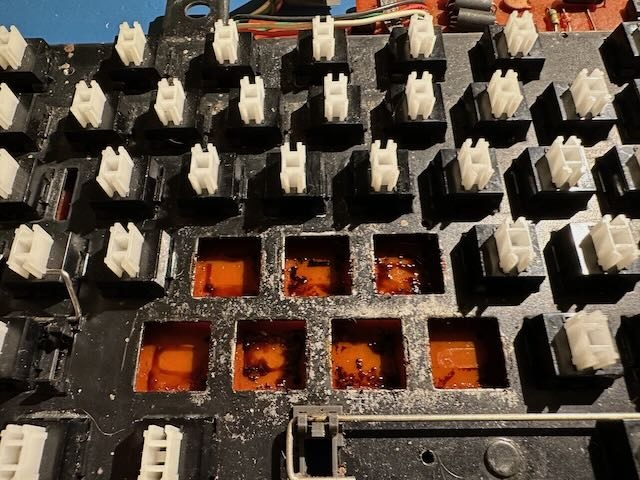
Some of the keys where very slow to pop up after being pressed so my guess was they had coke residue in them. Once I got a couple apart I was correct.
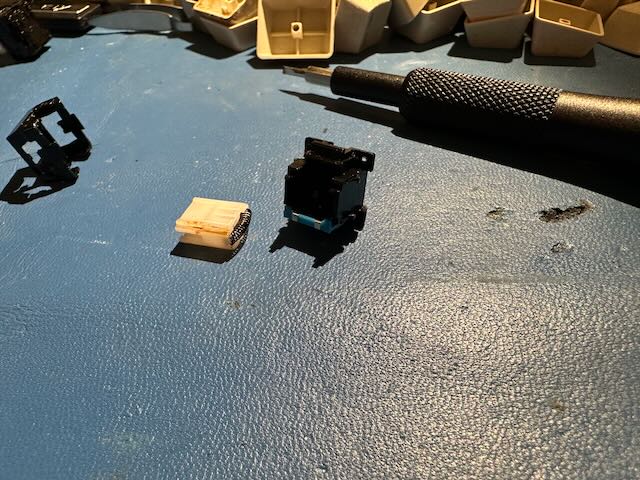
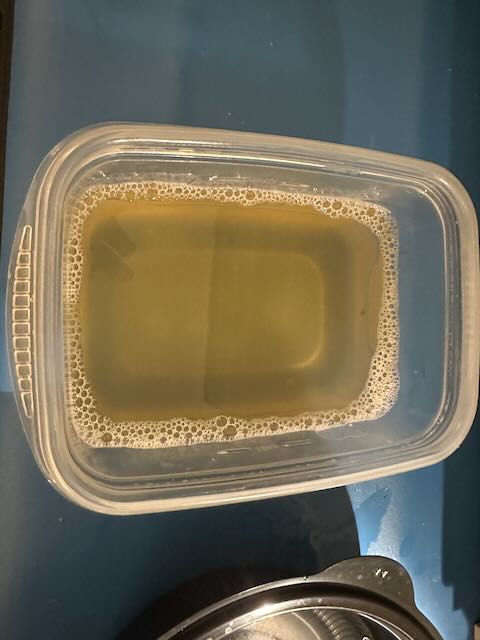
The very yucky looking water after washing JUST the key caps was this nice light brown color. I think I used a million cotton swabs and a decent amount of IPA (Isopropyl Alcohol) to clean the keyboard itself...
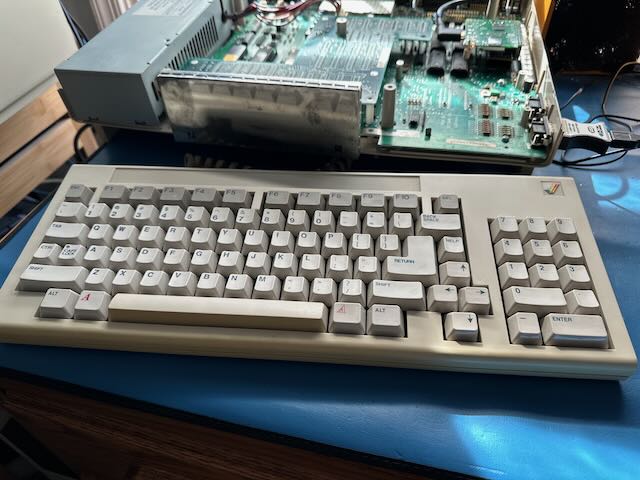
The finished keyboard looks down right amazing! I imagine not perfect but wow what a total difference. None of the keys stick anymore and they keyboard is a joy to use.
 Future Posts
I still have a few more things to do with this Amiga and they will be addressed in part 2.
As you maybe able to see the Pi-Storm is in and it has been working great. I am using the Musashi core and so far I really like it. I will discuss my setup and why I did what I did.
You may also notice there is no RGB2HDMI as of yet. That board is on its way and look to have that installed soon. I will discuss my experiences in getting it made and installed.
 Til next time
I hope you enjoyed this Amiga adventure with me and looking forward to more in the future for more.

